2011 - 2019 taurus 3.5L Torque Specs
2014 taurus Rear End Torque Specs
Click the area you are looking for!
Taurus 3.5L Repair Information
Taurus 3.5L Rear End Repair Information
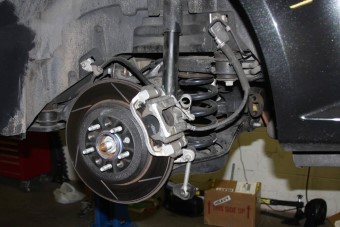
Here you can find information regarding repairs to the Taurus rear end system. These repairs include the rear control arms installation, the rear swaybar information and bolt torque specs, the rear diff fluid change procedures, and the rear end watts system installation. All of these repairs and procedures include in depth details on how to perform the replacement and or repair. They also contain all the detailed torque specs needed for each bolt involved in the repair.
Rear Control Arm Installation

Taurus Rear Arm Torque Specs : 159 ft-lbs
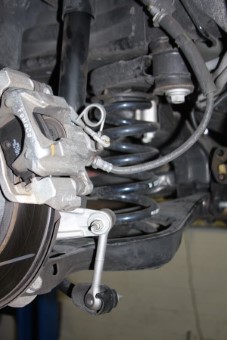
Rear Swaybar Installation

Taurus Swaybar to Strut Torque Spec : 41 ft-lbs
Taurus Swaybar to Frame Torque Specs : 41 ft-lbs
Rear Shock Installation
 To replace the rear shocks on a Taurus you will need to remove two sets of bolts/nuts. The first one
being located on the top of the shock which can be accessed from underneath the rear speaker cover inside the vehicle.
Once the nut has been removed the next bolt to remove is located on the bottom of the shock connected to the rear hub.
Once the bottom bolt has been removed the shock can be lowered out of the vehicle and removed. The new part
can then be placed in the vehicle the same way that the old one had been removed. When tightening the bolts back up make
sure to torque the top nut to 61 ft-lbs. The lower bolt on the shock must be tightened to 77 ft-lbs.
Taurus Rear Shock Upper Bolt Torque Specs : 61 ft-lbs
Taurus Rear Shock Lower Bolt Torque Specs : 77 ft-lbs
| Rear Suspension Torque Spec | |
|---|---|
| Control Arm Bolts Torque Spec | 159 ft-lbs |
| Stabilizer Bar Link Nut Torque Specs | 41 ft-lbs |
| Stabilizer to Frame Torque Spec | 41 ft-lbs |
| Shock Upper Nut Torque Spec | 61 ft-lbs |
| Shock Lower Nut Torque Spec | 77 ft-lbs |
